Homebrewing is egalitarian — just about anyone can do it. Most of your favorite brewers most likely started out by brewing in their own kitchens. It’s a contagious hobby that allows beer fans to create the brew of their imaginations.
But ask most brewers and they’ll recommend starting small. Simple recipes, no adjuncts. Learn the fundamentals and then scale up.
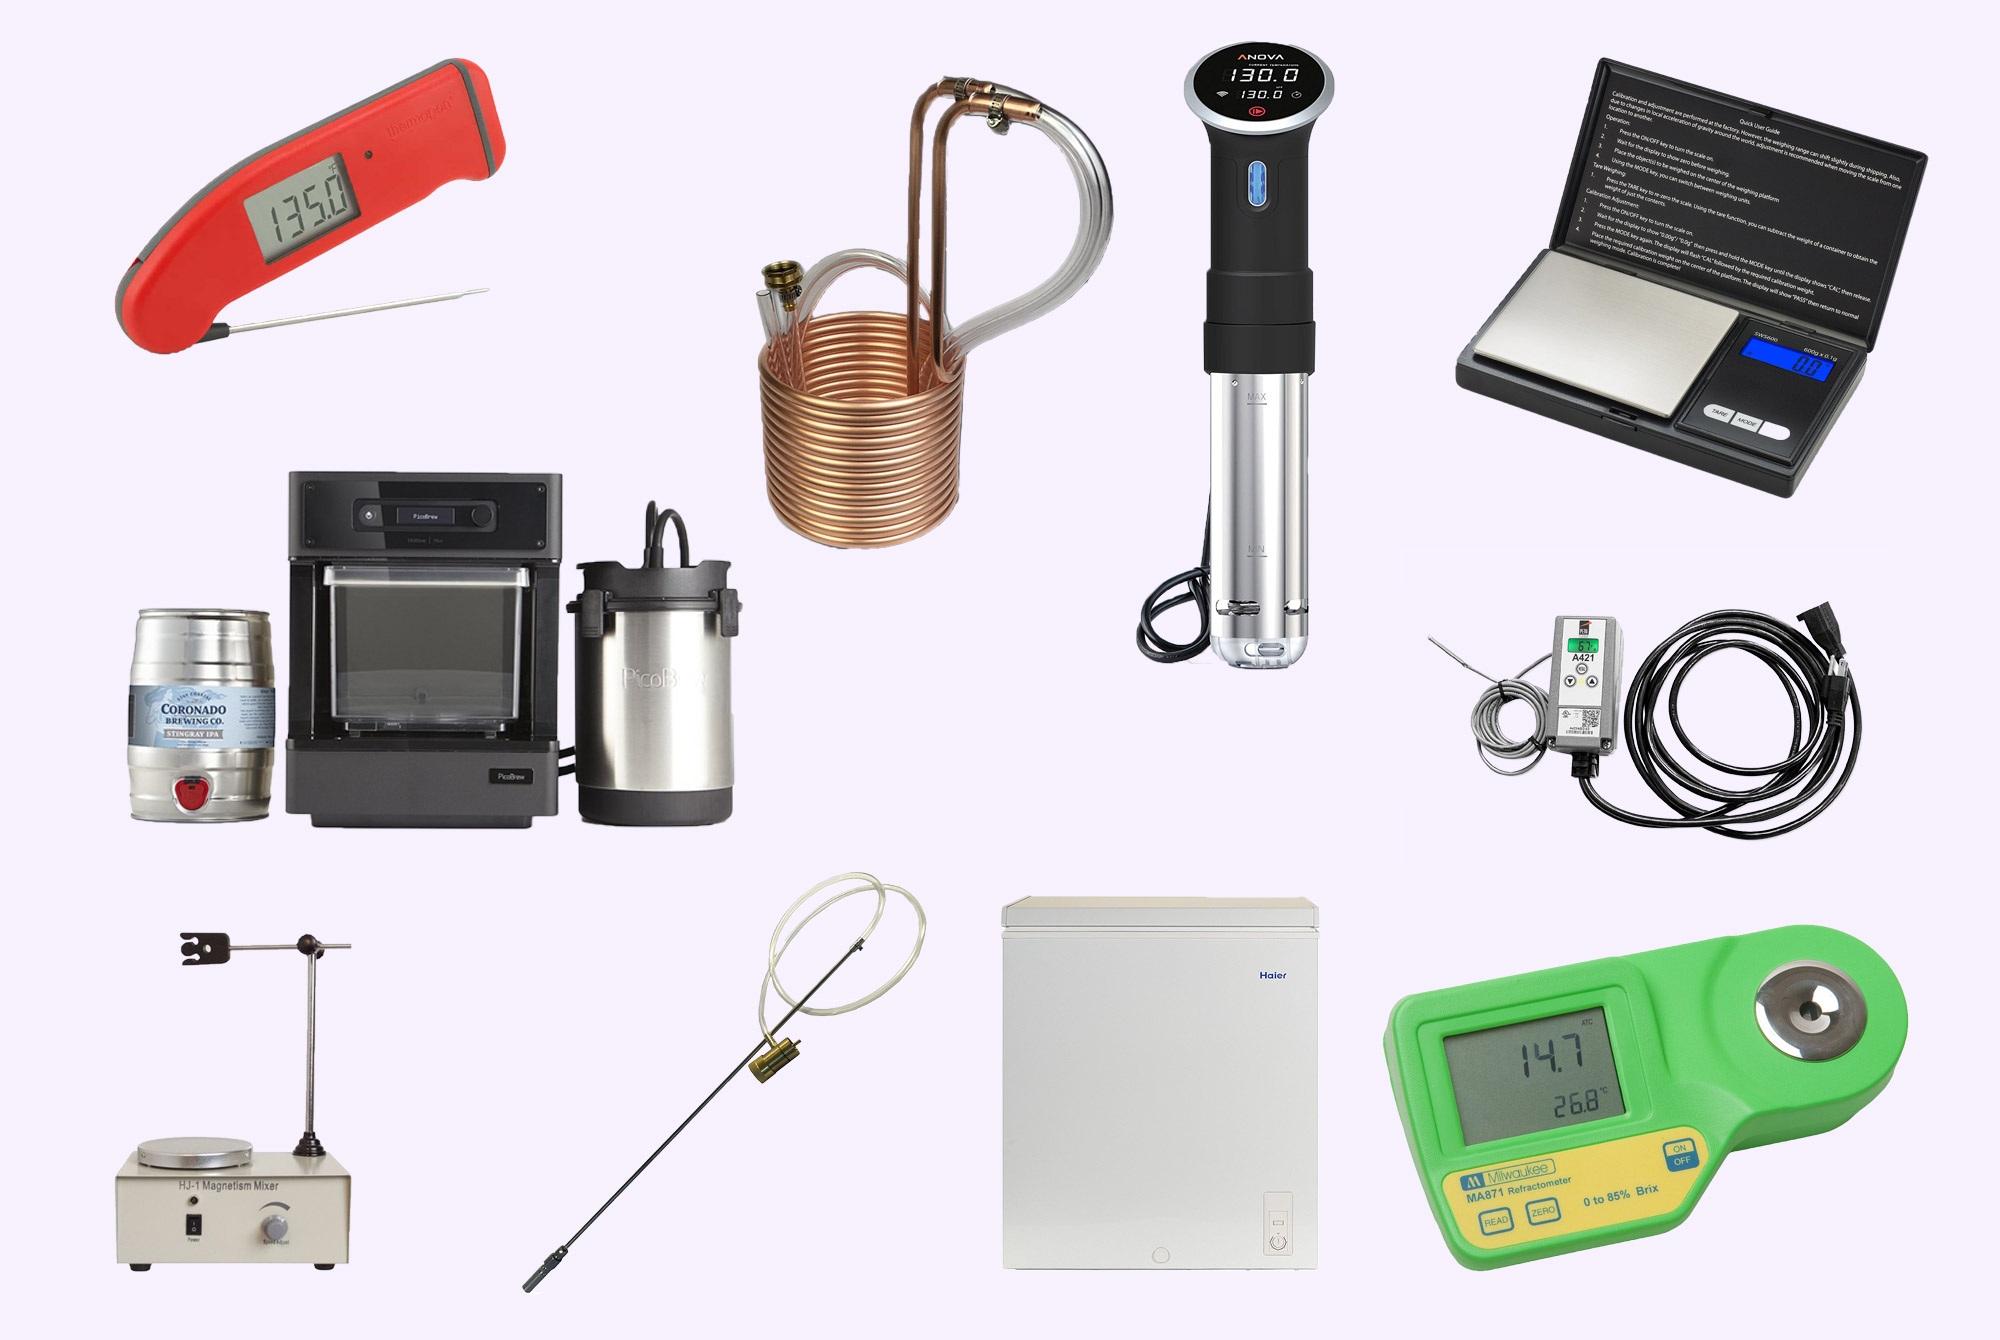
If you’re looking to start your own homebrew set-up, you’ll need a few essentials. More than likely, you already have some of the basics (pots, kitchen scale, etc.). You can also get a homebrew kit, but if you want to customize your experience, we recommend picking and choosing the gear for your brew day.
Here is the basic gear you’ll need to make your first batch of homebrew.
Kitchen Brewing
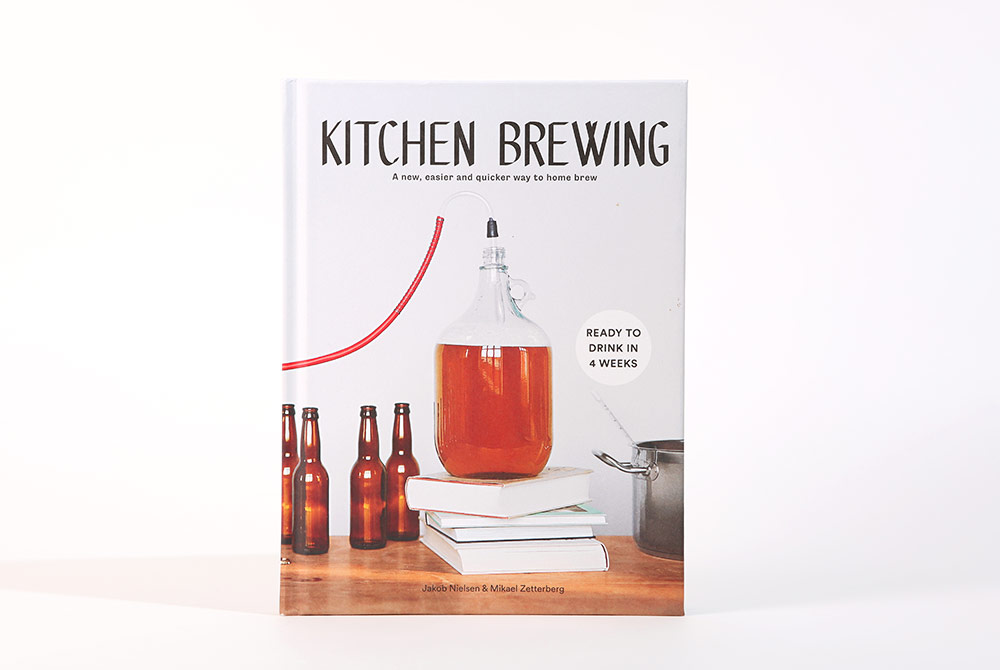
Before brewing, you’ll need a recipe. Kitchen Brewing is a perfect book for any homebrewer. Authors Jakob Nielsen and Mikael Zetterberg, founders of The Small Kitchen Brewery, insist that “everyone can brew” starting with a few household items and a little bit of patience. The book includes seasonal recipes and is full of gorgeous photography that would make anyone want to brew.
Stainless Steel Pot
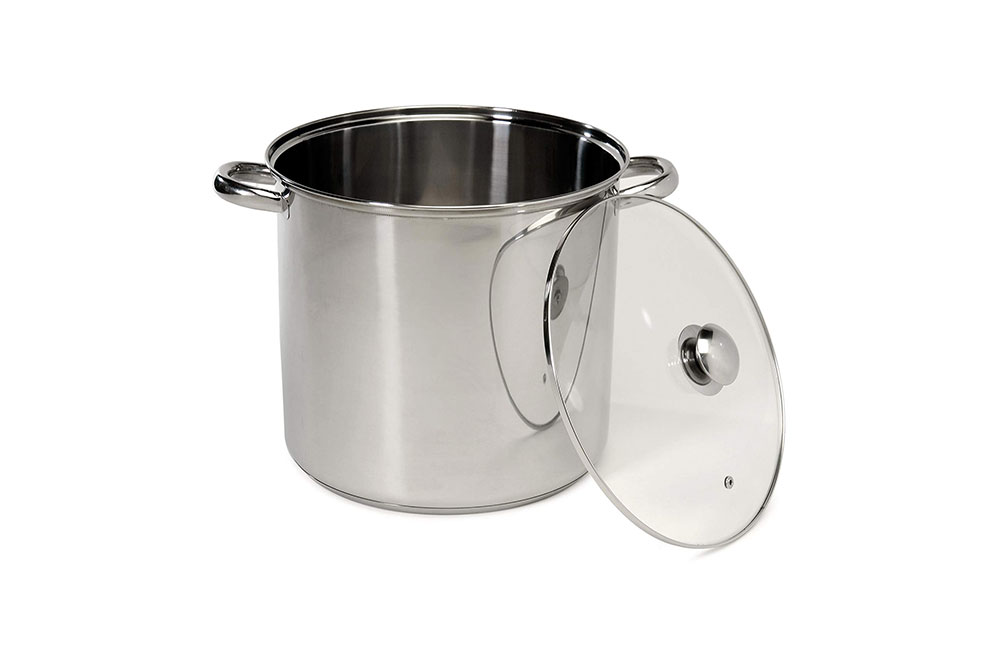
Any basic stovetop pot will do the trick for your boil — you most likely already have one! If not, we’d recommend this 16-quart stockpot from Excelsteel.
Sanitizer
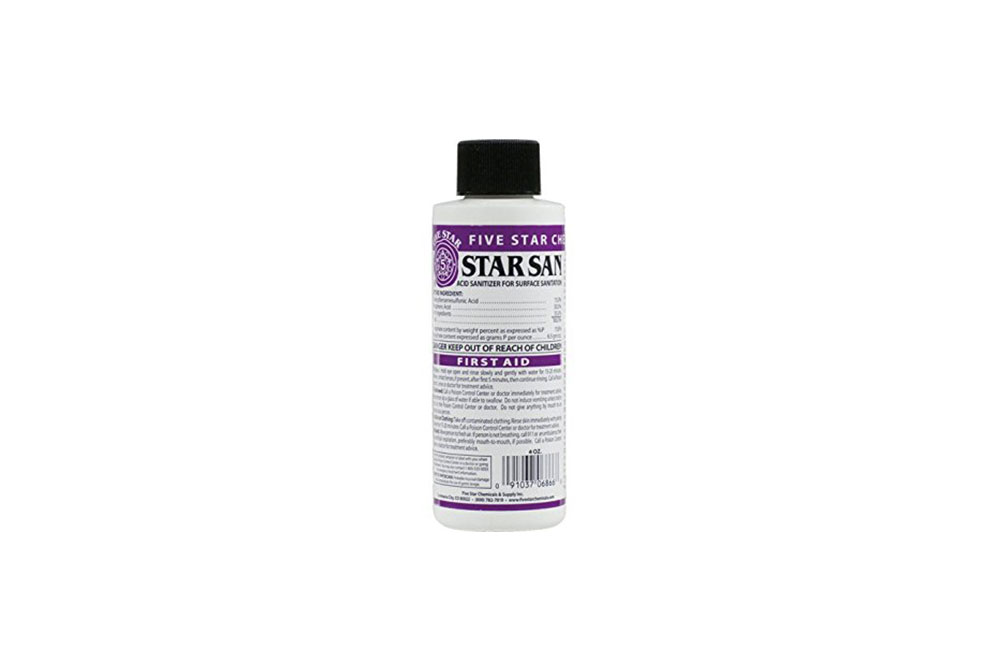
Sanitize, sanitize, sanitize. It’s the brewer’s mantra! Sanitize everything you’ll be using on brew day.
Nylon Mesh Bag

This reusable nylon mesh bag from PINFOX is ideal for pellet hops or adjunct ingredients.
Smart Weigh Pocket Sized Digital Scale
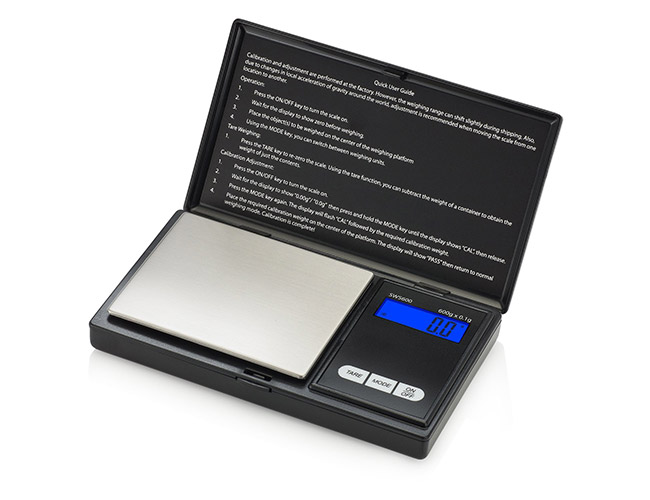
If you’re using adjuncts or need to know the weight of hop additions during the boil, a digital scale is a must-have. A decent one will only run $9!
Floating Glass Thermometer
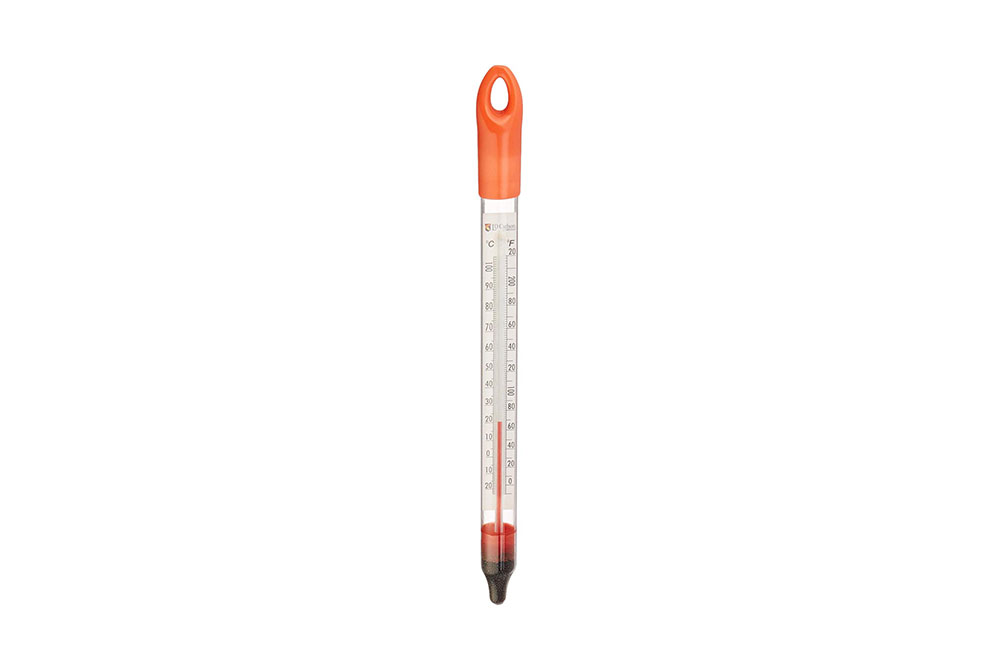
Temperature control is a key element of homebrewing. You’ll want to keep your mash at a consistent temperature during the brewing process. Get yourself a floating thermometer to take accurate temperature measurements. This glass thermometer, which ranges from 0 to 220 Degrees Fahrenheit, should do the trick.
Carboy
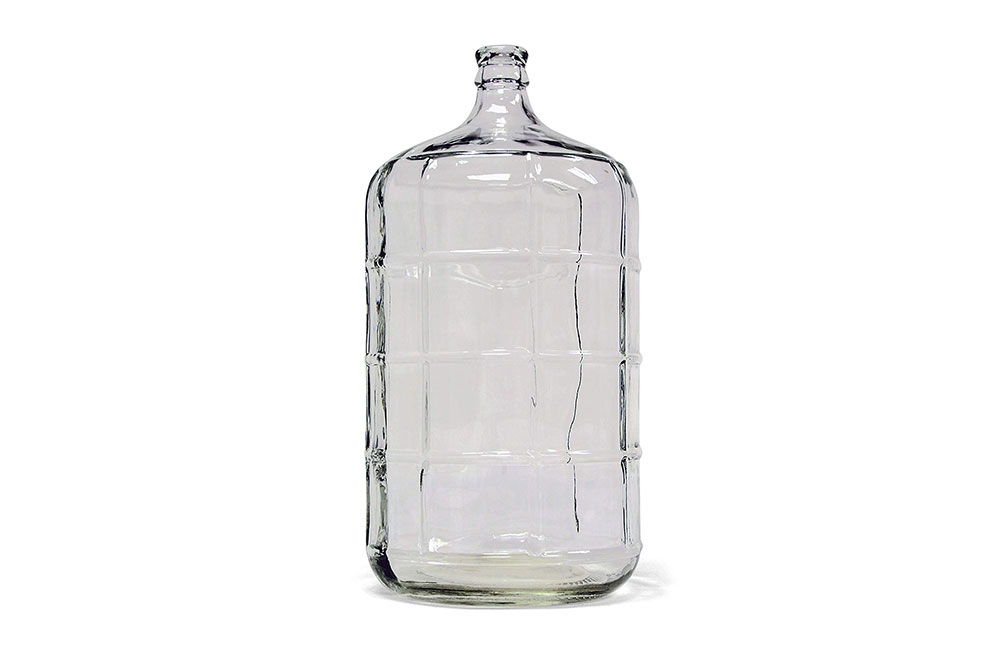
Fermentation might not be the sexiest part of homebrewing but it’s one of the most crucial (next to sanitizing). You could go the less expensive route and ferment in a plastic bucket but we’d recommend the sleeker glass carboy.
Airlock and Stopper
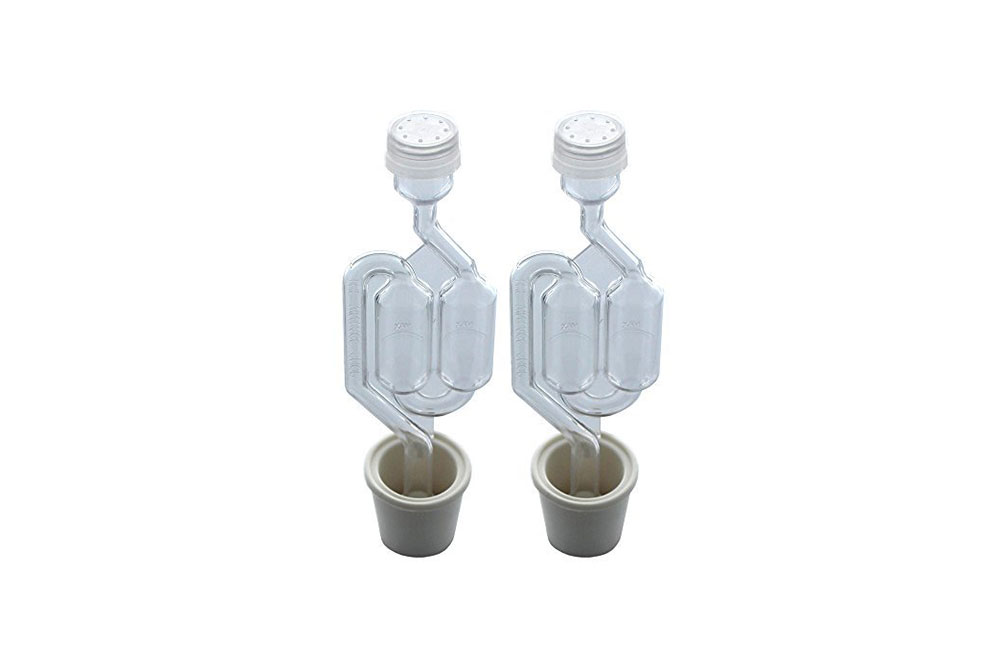
Now that you have your carboy, you’ll need something to plug it up. This airlock and carboy bung set will do the trick. If you fill the airlock with a bit of water and sanitizing solution, it’ll allow carbon dioxide to bubble out without letting any air in. This stopper should fit on 3-, 5-, 6-, and 6.5-gallon carboys.
Auto-Siphon
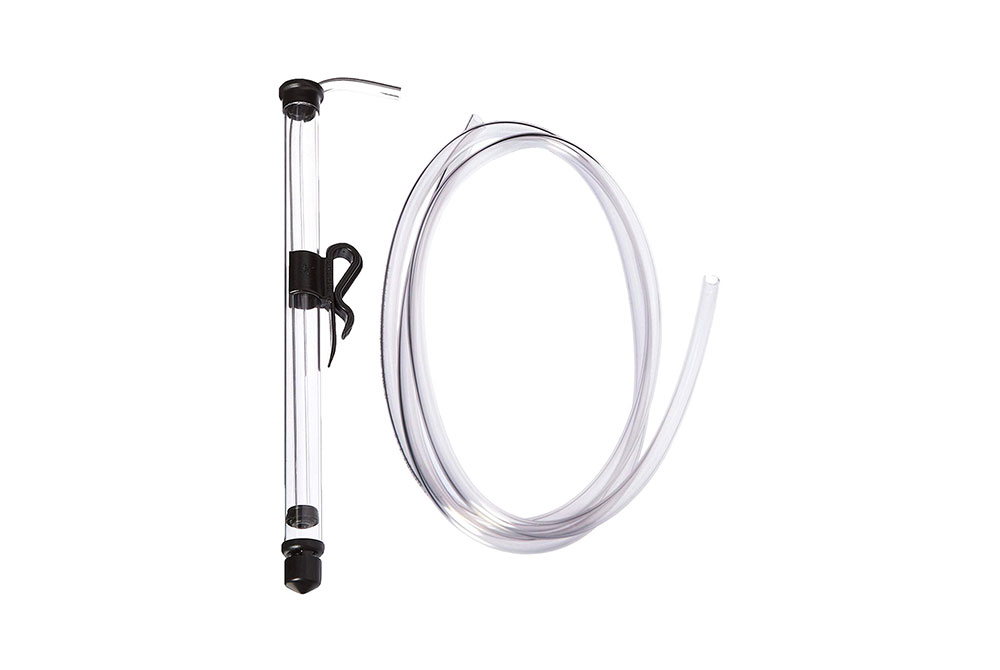
Once your beer has fermented, it’s time to transfer it into bottles. The auto-siphon is the easiest and most sanitary way to fill your bottles. Before bottling, you’ll want to treat your beer with some priming sugar, which is necessary to carbonate your beer inside the bottles.
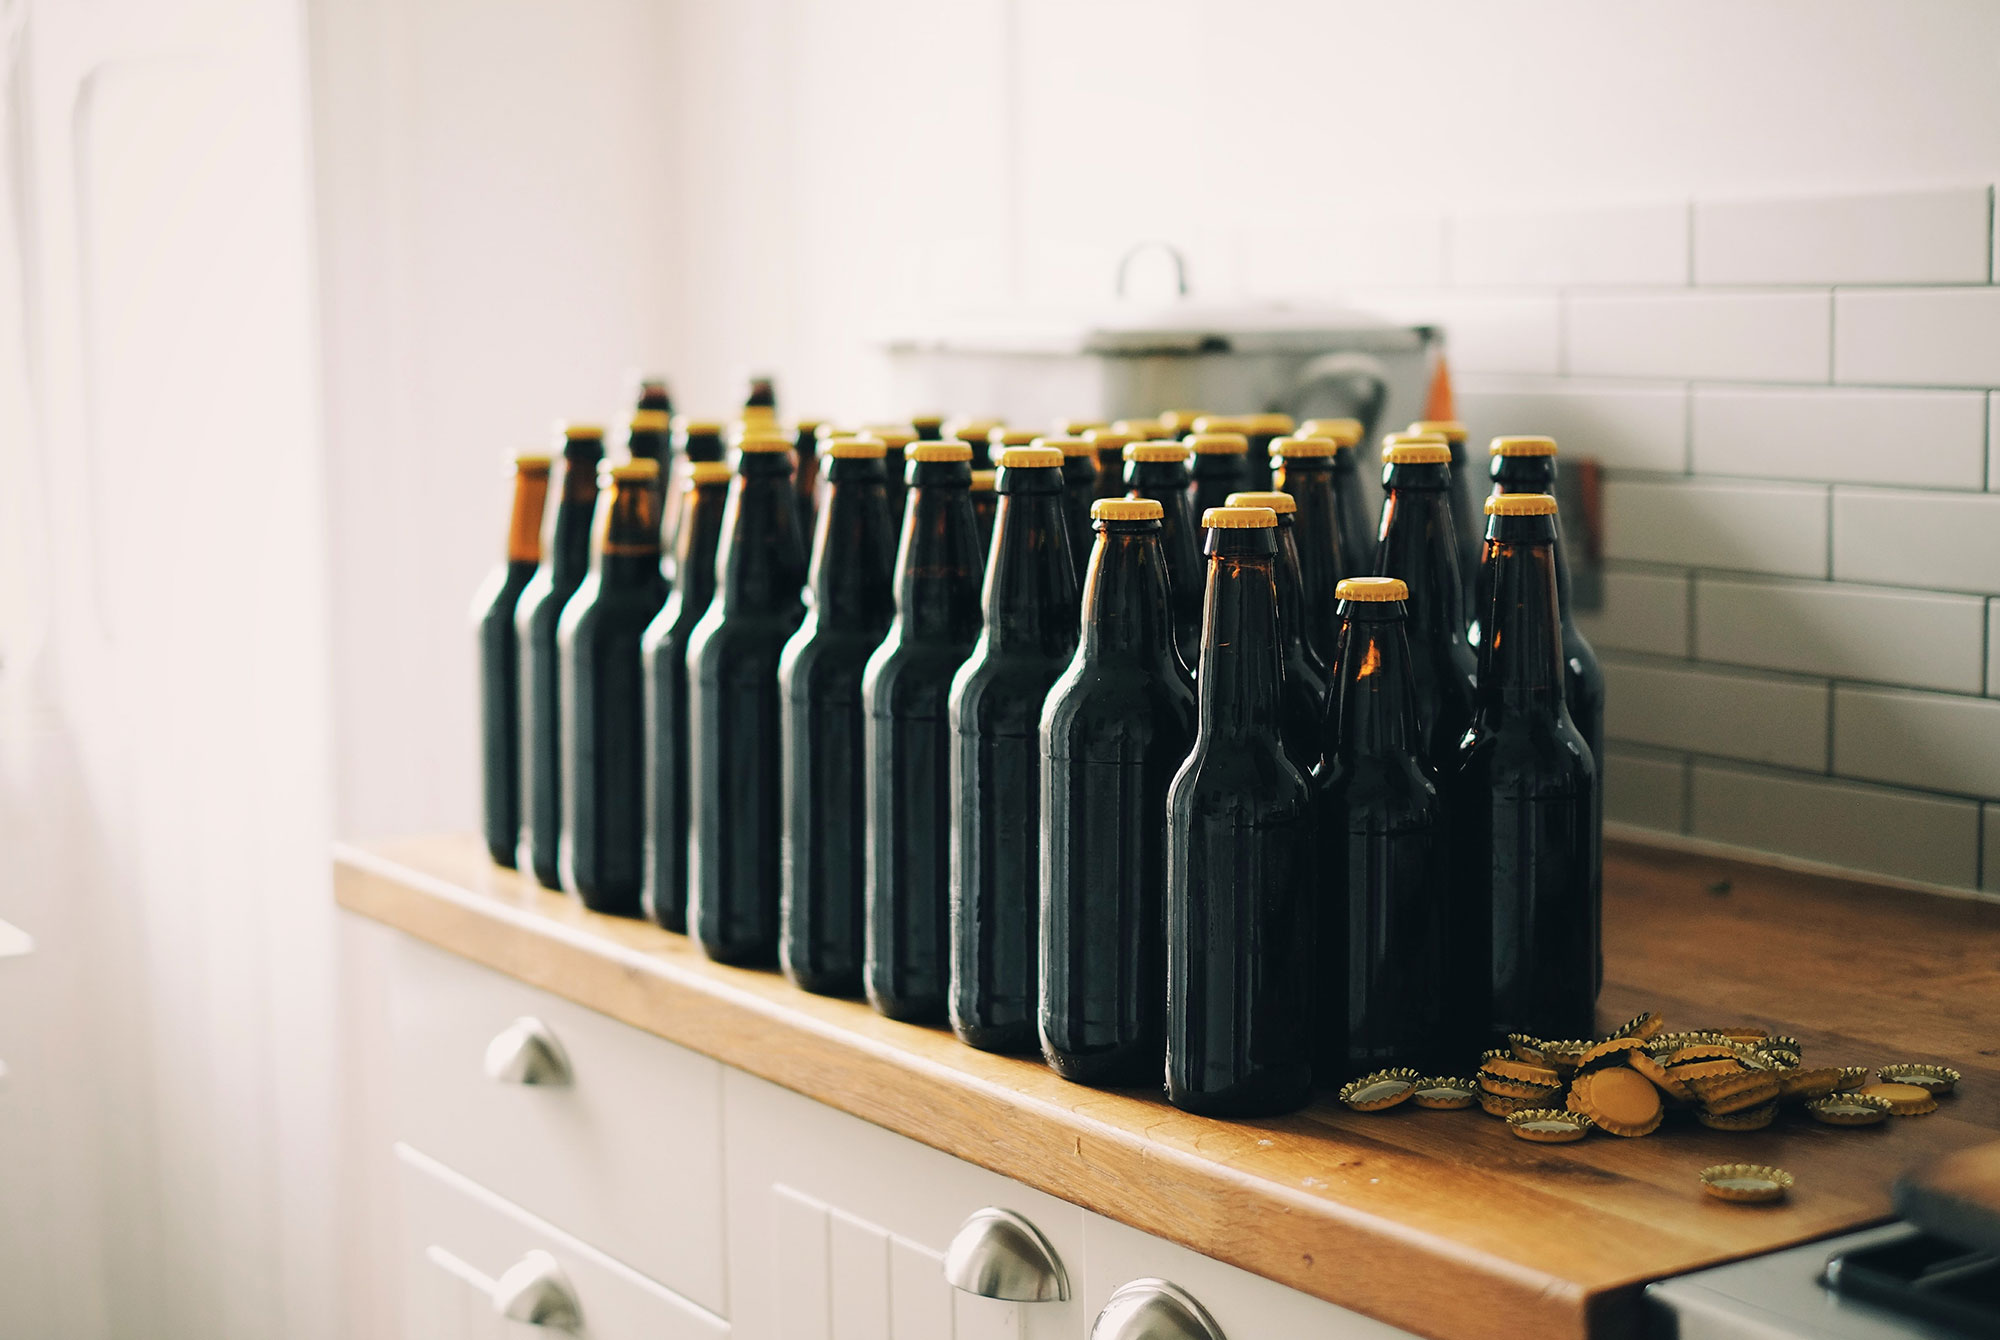
16 oz. Swing-top Bottles
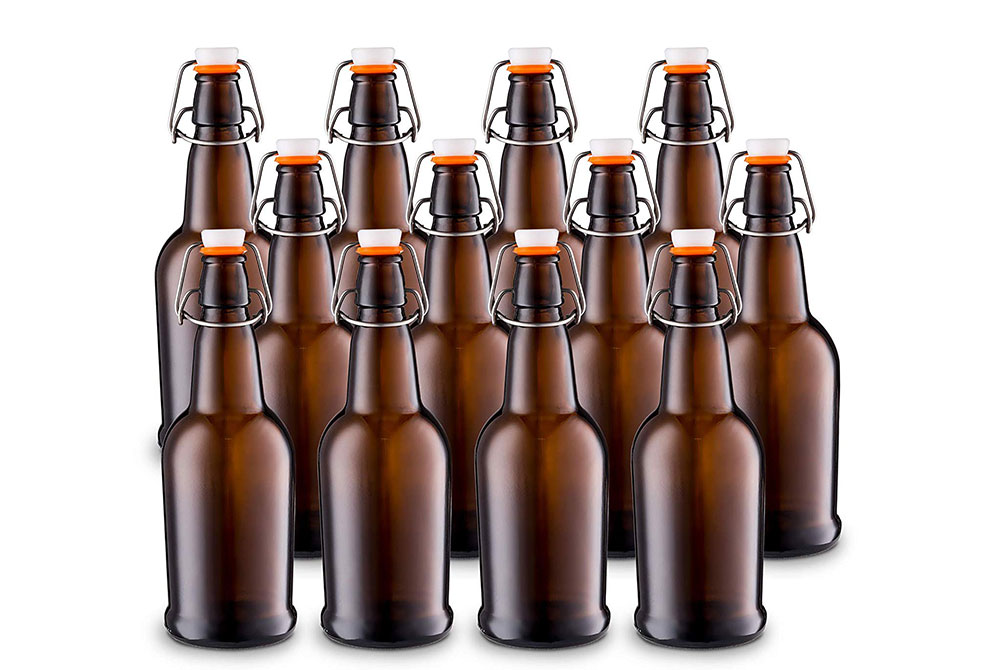
And you’ll need some bottles to fill! Get yourself a 12-pack of these swing-top bottles from Tiabo. They’re sturdy, safe, and easy to use.
Liked this article? Sign up for our newsletter to get the best craft beer writing on the web delivered straight to your inbox.