Shop
Back to Basics: The B-Sides with Brandon Tolbert
How it all happened.
Welcome to the Back to Basics B-Sides, where we’ll bring you some of the behind the scenes leading up to and from the Back to Basics brew day. Our first B-Side is with Brandon Tolbert, former head brewer at The Answer Brewpub and now founder of Safety Team Brewing Company.
For the collaboration beer we brewed together a few months back, Brandon Tolbert, who recently left The Answer Brewpub to found his own brewery, and I wanted to create a beer that mimicked the best of the imperial stouts that Brandon had created at The Answer. “For the most part, I’ll try to envision the end product and work my way back,” Brandon said of his process before our brew day. “Deconstruct the process, figure out what attributes you want out of a beer, and determine the best way to achieve them,” he continued. That’s when I thought of his recent collaboration with Corey Artanis from 3 Sons, Grain Sack Napz, an imperial stout with Madagascar vanilla beans and hazelnut coffee.
Now that we had a vision for our beer, we took Brandon’s advice and began to work backward. While we could have cloned Grain Sack Napz, we wanted to take that beer and make it our own. I’d been going through a phase of brewing imperial porters, and my brewing team, Andrew Berman and Matt Federico, had recent experience with the style, so we chose that as our base.
Recipe Development
Now that we knew our style and vision for flavor profile, we started putting our recipe together. I sent our brewing team a recipe from an Imperial Porter I had brewed a few months prior to use as our baseline before making our tweaks.
According to Beer Judge Certification Program styles, the higher band for the final gravity of an Imperial Stout is 1.030 and for an Imperial Porter, it’s even lower. If you are not familiar with the term gravity, it’s how you measure the ABV of your beer. To calculate ABV you first take a gravity reading of your wort at the end of your brew day, which is your original gravity, and a reading when your beer is finished fermenting, which is your final gravity. The difference between your original and final gravity, multiplied by 131.25 is the standard formula to calculate your ABV. A beer with a high final gravity will have a sweeter finish, like Brandon’s. Our goal was to brew something that would finish above the normal bands, targeting the 1.040s.
Grain Bill
Knowing our beer would finish in the 1.040s, we had to build a recipe that would start high enough so it could still hit 10 percent ABV in the end. The first tweak was with the base malt. We didn’t want to use the hazelnut coffee treatment in the beer, so we chose Marris Otter to maintain some of those nutty characteristics.
From there, we looked to our specialty grains. We wanted the beer to have a big chocolate backbone, so we included Blackprinz, Chocolate Wheat, and Dark Chocolate Malt, all of which impart strong chocolate flavors without any astringency. Since we had removed our coffee treatment, we decided to replace some of those flavors with BlackSwaen Coffee Malt.
Hops
When choosing our hops, we wanted to use Millennium, which are the same hops used in beers such as Bourbon County. Unfortunately, the homebrew shop was out of Millennium hops so we went with something else that would fit our beer’s characteristics: Warrior Hops.
Yeast
For a beer this big, we had to make sure we not only had the right amount of yeast, but that we had the correct yeast that could handle our beer. We decided to use Irish Ale, which can tolerate beers up to 12 percent ABV.
To ensure we had enough healthy yeast cells for our beer, we used a two-step process to get our yeast ready. The process for creating a yeast starter is fairly simple. You essentially create wort by boiling Dry Malt Extract (DME), cool it down, add your yeast packet, and then cover and put it on your stir plate for 24 hours. For our yeast, we followed this process, however, we then did a second starter a few days later, but this time instead of adding our yeast packet, we added our original starter.
Process
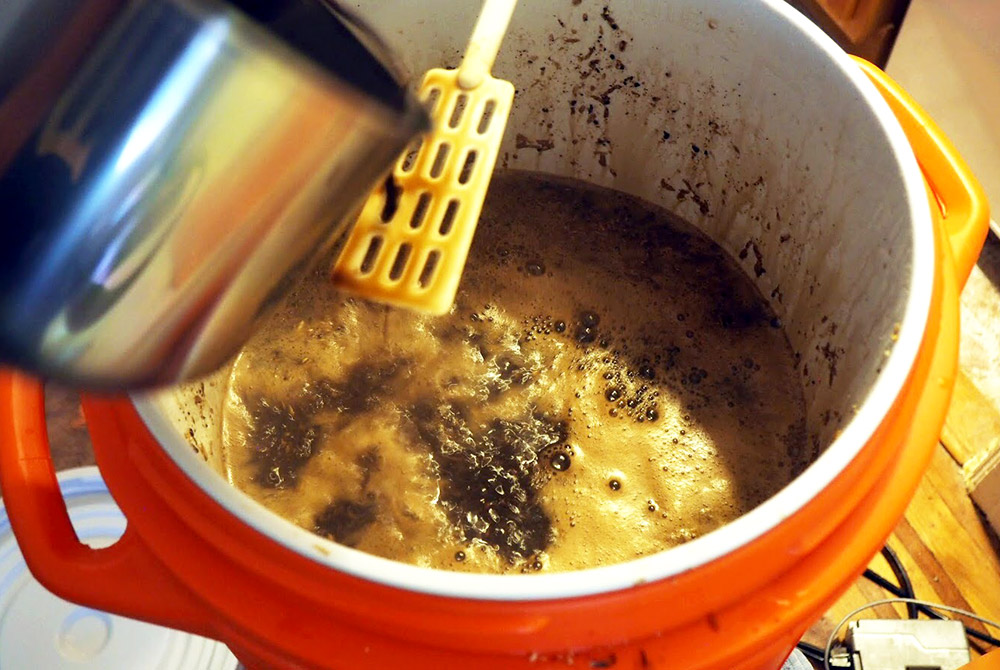
The Mash
For my base recipe, I did what is called a double mash, a common practice for when a brewer wants a super concentrated wort for their beer, and is unable to fit the grains and water needed within their mash tun. Matt, however, had a different idea for our brew day – a polygyle double mash.
Matt had first heard about the process when he was listening to the Brew Strong Podcast with Jamil Zainasheff and John Palmer. The polygyle process was used by Jamil for a collaboration beer between Heretic and Evil Twin.
Polygyle mashing is a technique that lets you achieve a very high gravity pre-boil wort at a potentially better efficiency than if you split your grains and do two separate mashes.
For this technique you split the grain bill in half and mash the first portion of the grains like you would any other mash. You then drain the wort into the kettle and sparge with a volume of water that results in enough wort to mash the remaining grains and achieve the targeted pre-boil volume, still following the same technique for a normal mash. Here’s, however, where things differ. You take all the wort you have collected between your mash and sparge, and add it to your mash tun, along with the second half of your grain. Basically, you’re doing a second mash with your grain, but using the wort from the first. Once the second mash is done, you run off your wort into the kettle and begin your boil.
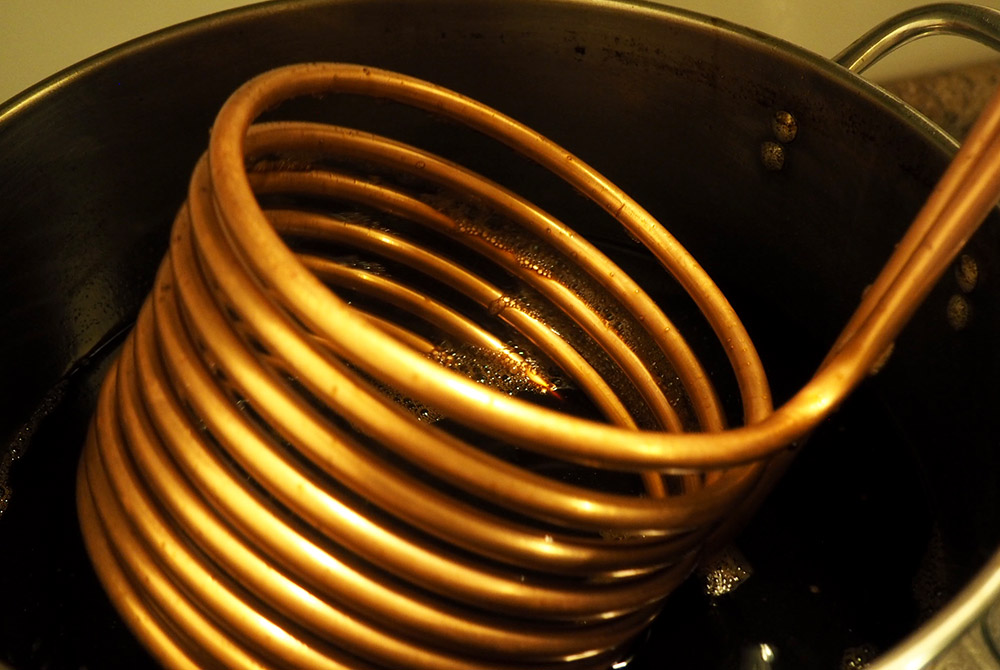
The Boil
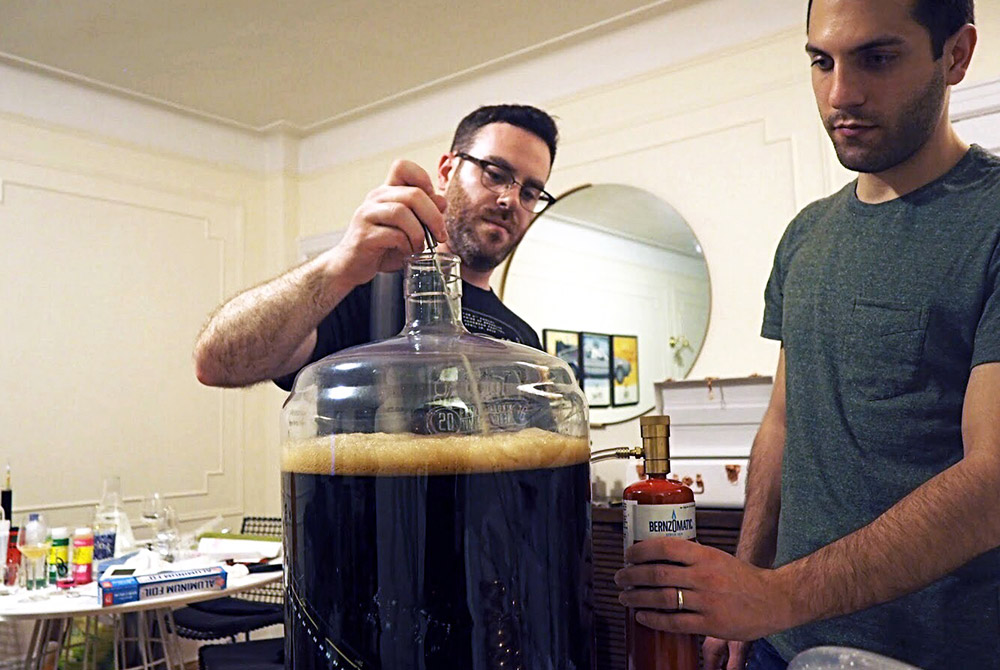
For our boil, we settled on a full 120 minutes. After the clock hit the two-hour mark, we quickly cooled down our wort, transferred, oxygenated, and pitched our yeast.
The Fermentation Journey
We set our fermentation temperature on the lower side, 62 degrees for the first few days. When you ferment at a higher temperature, your yeast can give off phenols, which can impart flavors such as clove or even the barnyard funk you find ins some sours. More importantly, we chose the lower temperature to minimize fusel alcohols. Fusel alcohols are responsible for that perception of “heat” you’ll find on some bigger Stouts or Porters. Fusel alcohols are created when the yeast is stressed, which can occur due to either high fermentation temperatures, underpitching your yeast, or by not having enough oxygen. Pretty much, anything that makes the yeast work extra hard. After a few days at the lower temperature, we slowly raised the temperature to 70 degrees over the next two weeks.
The Final Touch
After two weeks, we took our beer off the yeast and transferred it to secondary fermentation. Now, we’re letting our beer sit in secondary for a month to let it mellow out, before treating it with Madagascar vanilla beans. After one month on the beans, the beer will be force carbonated and bottled for a special event. While this beer will not be publically available, we plan to share the majority of future beers through pop-up sample releases in NYC.
Read the A-Side to this story here.
About The Author
Jason Stein
Currently Drinking:
Equilibrium Photon
Jason first fell in love with craft beer back in 2008 when he tried Bell’s Hopslam at one of the bars on campus at the University of Michigan.
After a short tour in Virginia, Jason moved back to a blossoming NYC beer scene in 2012, where he met what would become first craft beer community. While Jason’s day job is in Finance, he became a regular contributor to several publications starting in 2015. Since then he’s slowly turned his apartment into a small brewery covered with temperature controlled fridges, homebrew equipment, kegs, and most importantly, his favorite beers and meads.