This is the first in a series of articles on the art and science of homebrewing.
I had a friend in college we’ll call Chris, because that was his name. Chris was exceptionally bright, that guy who’d crush an econ exam that everyone else struggled through without so much as a casual flip through his notes. Tall and handsome with a great head of hair, he was charismatic and fun, generous and affable. A people person. Chris threw great parties.
These were your standard college parties, complete with drinking games and kegs of shitty beer. With one exception: Chris fancied himself a rather adept homebrewer. So at some point during each party, typically after the booze pumps had been adequately primed, Chris would lower the music, stand on a chair, and unveil his latest creation. Always a smart guy, Chris was full of ideas. There were ales brewed with cherries. Lagers infused with chocolate. And many more lost to time. Chris’s beer ambition knew no bounds.
And Chris’s beers sucked.
Chris might have suffered from knowing too much – he got ambitious before he was actually any good. But if you’re thinking about dabbling in homebrewing yourself – and really, you should – you can learn a thing or two from Chris’s example. Like, uh, the fundamentals. Here are a few fundamentals you should know.
“Subtlety is not a good first goal,” Max Heinegg, founder of Medford Brewing Company in Massachusetts, told me. “You can definitely make a good stout or IPA on your first try with a good recipe and attention to sanitation.” (It’s worth noting here that “bonkers” and “bold” aren’t the same thing here. Sorry, Chris.)
Max Heinegg in action.
Max has been homebrewing for nearly a decade and has an entire room in his house dedicated to all his awards. (I’m just guessing here, but it’s probably true.) Suffice to say, he’s an authority on the subject. He’s also been a high school teacher for more than 20 years, so he’s used to explaining complicated things to children. Which is basically what I asked him to do here.
At its most fundamental level, homebrewing is just like cooking. You need the right equipment, a good recipe, and attention to detail and cleanliness. You can make it as simple or as complex as you want. The more you do it, the better – and more ambitious – you can get.
Here’s a few basics to get you started:
Is this going to be hard?
It depends. “You have to decide if you’re going to do an extract brew, meaning using malt extract, like concentrated orange juice; if you’re going to do a partial mash, where you’ll use some extract and some grains that you’ll steep like tea; or if you’re going to create your wort – your to-become-beer liquid – from turning your grain-tea (wort) into fermented liquid, i.e. beer,” explains Max.
Any of those options can yield great beer. It’s a decision between control and risk. Creating your own wort — the unfermented beer — gains you control over the nuances of the final product, but leaves you more open to mistakes and infections — not to mention the demands for more equipment.
How long does a batch of beer take?
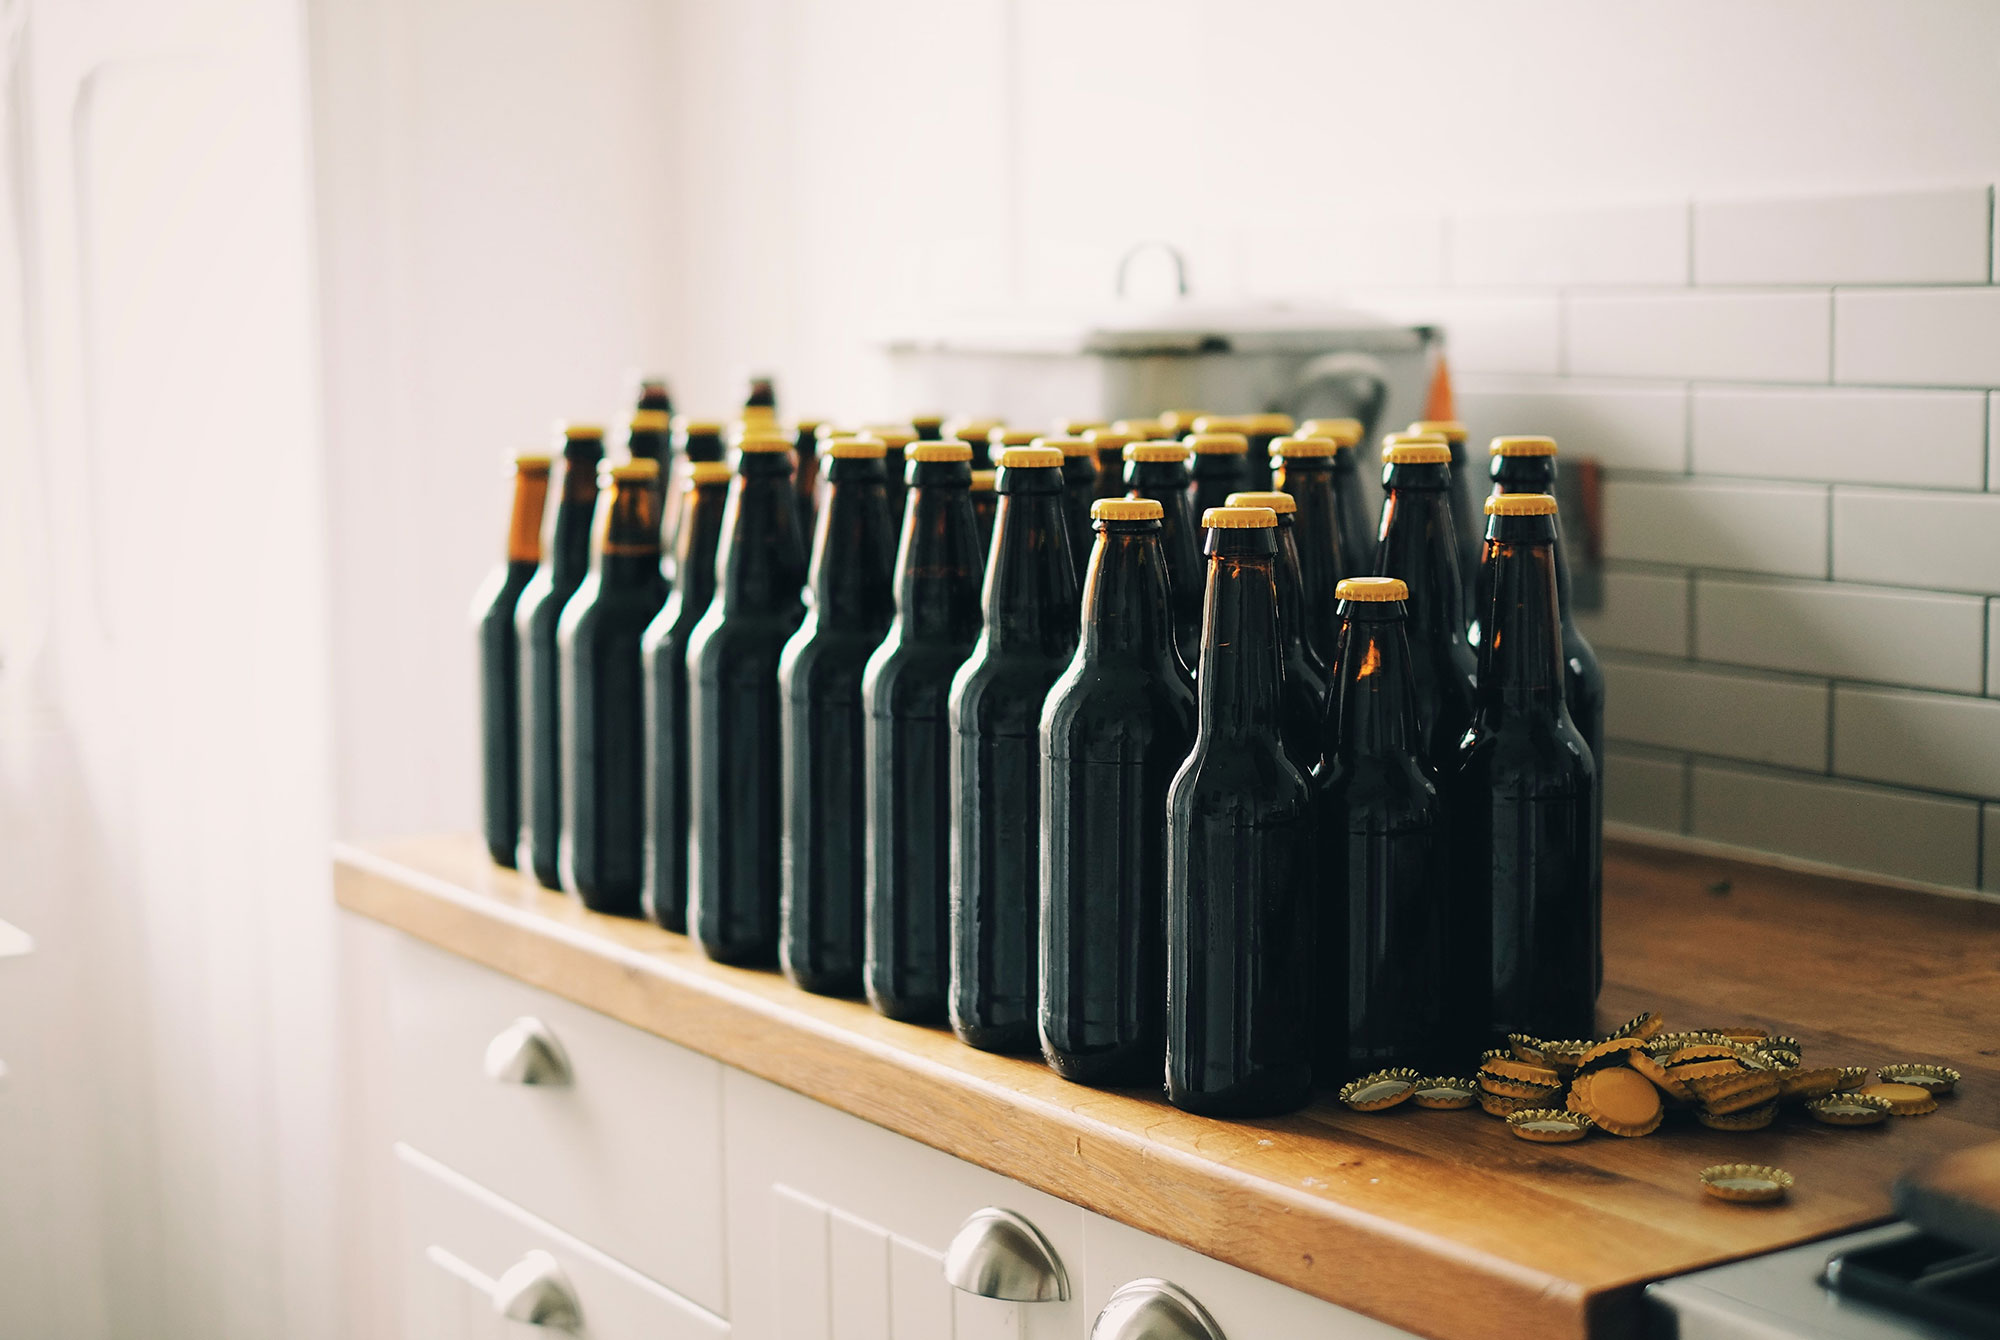
This is not a game of instant gratification, but you can expect to drink a simple pale ale about a month after brewing. Expect a few hours at least during brew day and anywhere from five days to a few weeks in fermentation. If you’re planning to bottle, factor in a few hours on bottle day, and then two weeks in the bottle to carbonate. A stronger beer, with high alcohol content, will require a couple months to mellow.
“You should enjoy it, so a Sunday morning or afternoon with a friend is ideal,” says Max. “If you can keg it and it isn’t too strong, you’ll be enjoying your beer less than a month after brewing it.” How amazing is that? Kegging your homebrew actually takes less time than bottling it.
What kind of gear do I need?
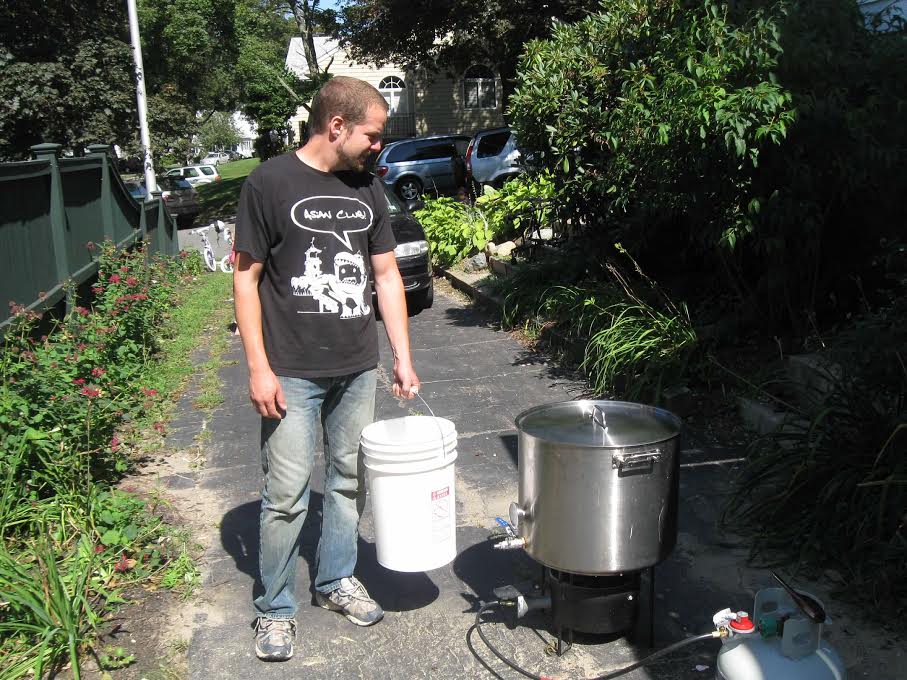
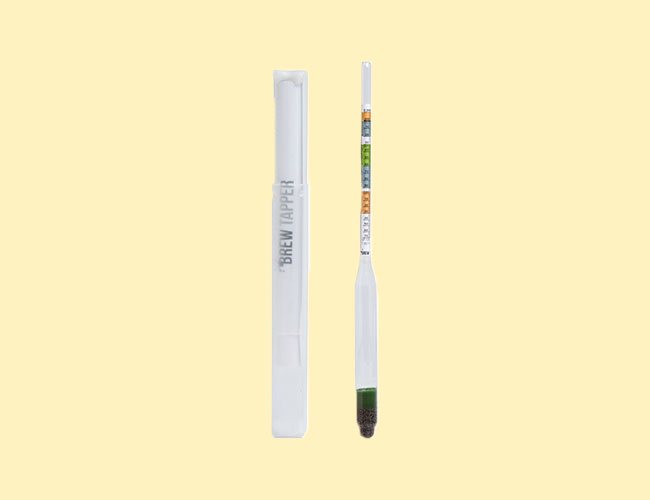
Surprisingly, not that much. The beginner’s kit can be procured on the cheap (you might even have some of this stuff lying around already): a five-gallon boiling pot, a six-gallon plastic pail for fermenting, a thermometer, and a big-ass stirring spoon. Additionally, you’ll need a siphon, a hydrometer (if you want to calculate the ABV), an airlock, bottling equipment, and sanitation supplies.
Brewing kits can be bought online or in specialty stores, and contain everything you need to brew a batch. Lastly, you can do this in your kitchen. But many homebrewers prefer to buy a portable propane burner and take it outside. Your call.
Will my beer be better than your friend Chris’s?
Probably.
Equipment To Get You Started:
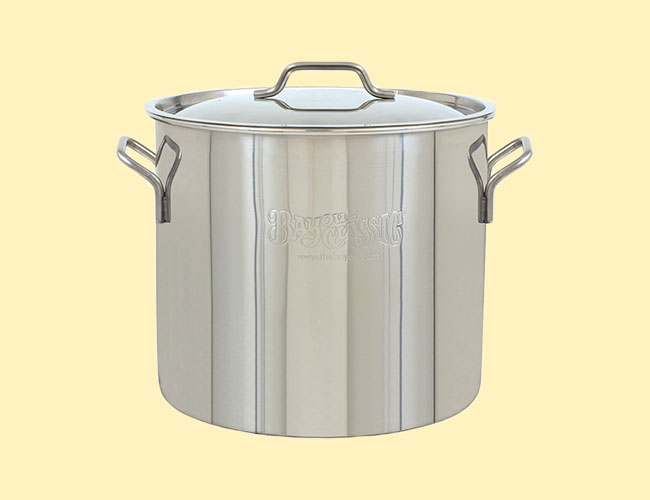
5-Gallon Stainless Steel Pot
6.5-Gallon Plastic Fermenting Pail

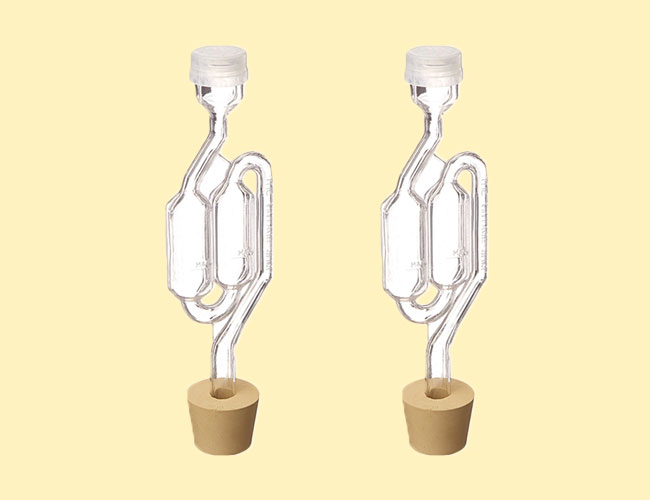
Bubble Airlock and Carboy Bung
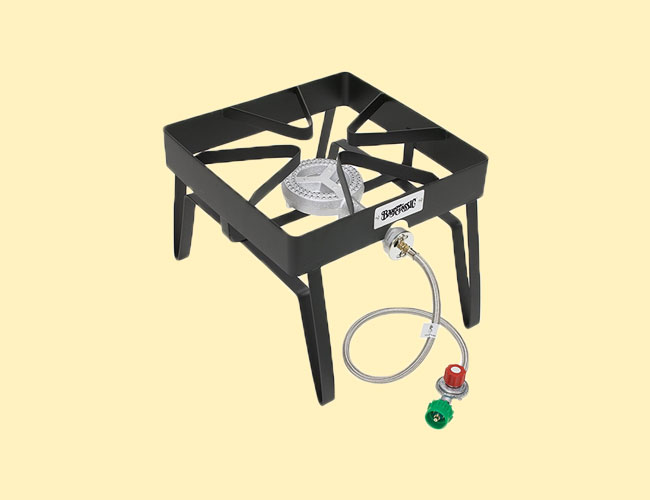
Portable Propane Burner
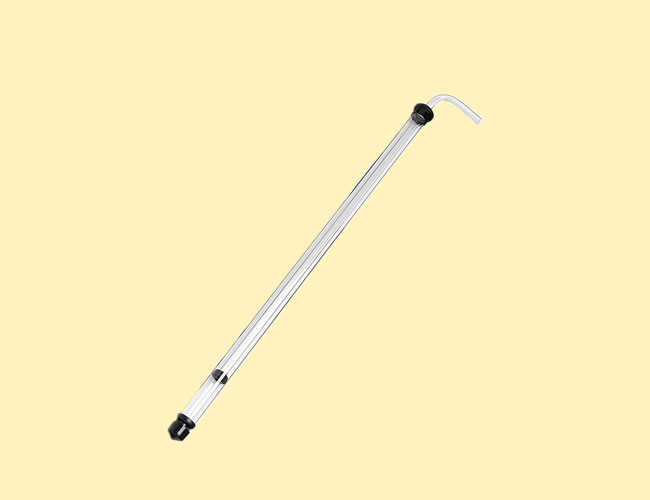
Large Auto-Siphon
Hydrometer
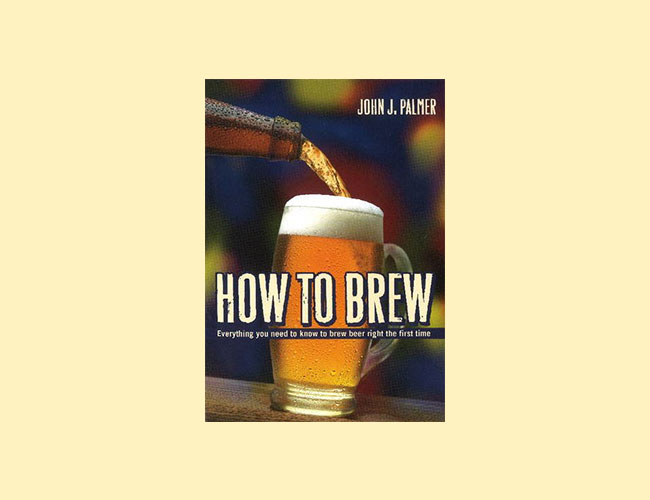
How to Brew by John Palmer