Shop
How to Grow Hops at Home
Merge your love of homebrewing and planting.
Hop Culture's Top Stories:
Updated on July 22, 2024
Homebrewing has been climbing a steady slope of popularity for years, but the practice has been around for decades. Bringing the great outdoors inside is nothing new, either–just look to Urban Jungle Bloggers for examples of the indoor plant craze.
In past years, though, the two hobbies—homebrewing and planting—have merged with avid craft beer fans opting to grow their own hops in the comfort of their living room or backyard.
Looking for some more homebrewing gear? We’ve got you covered here. Plus, we asked some pro brewers to share their tips for homebrewing here.
Why Grow Hops at Home?
Many of us enjoy homebrewing because it offers an element of control and satisfaction that we can’t attain when building our stellar 6-packs at the local bottle shop.
The opportunity to grow hops independently rings true as just another extension of an ever-expanding hobby. It also allows for an added element of personalization and authenticity in each batch of homebrew.
Unfortunately, only some craft beer enthusiasts can access a hefty plot of farmable land or a backyard. That’s when it’s time to get creative and embrace the Urban Jungle. In other words, transform your studio apartment into an oasis of greenery, and do it with hops.
Whether you hope to grow hops on an apartment balcony, in a tiny yard, or share a living space with your hop plants, we’ll show you how with some help from the pros.
How To Grow Hops Indoors
Photography courtesy of Grace Lee-Weitz
1. Do your research
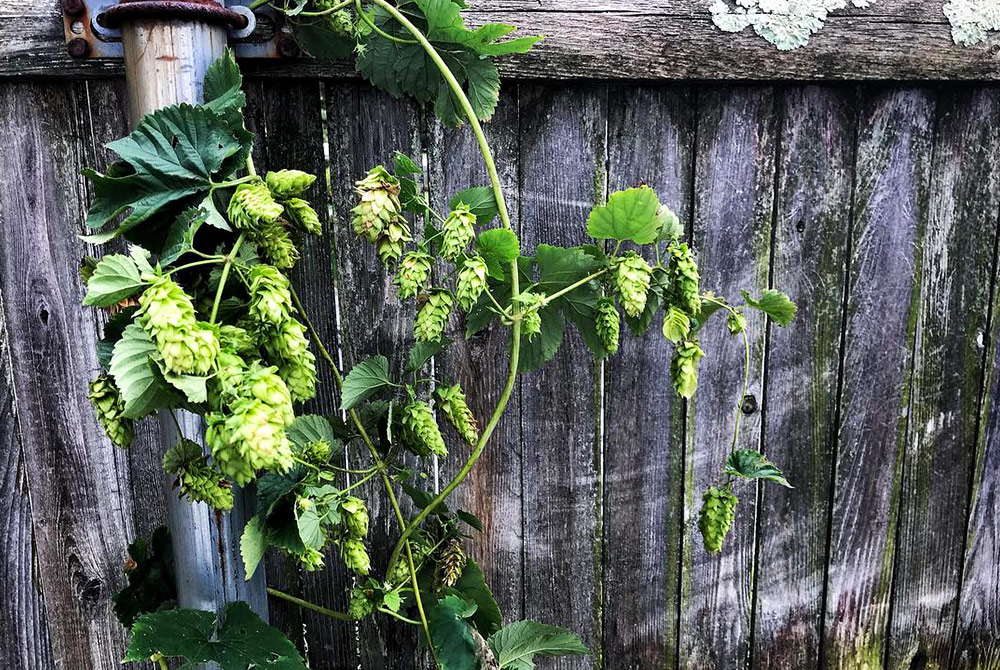
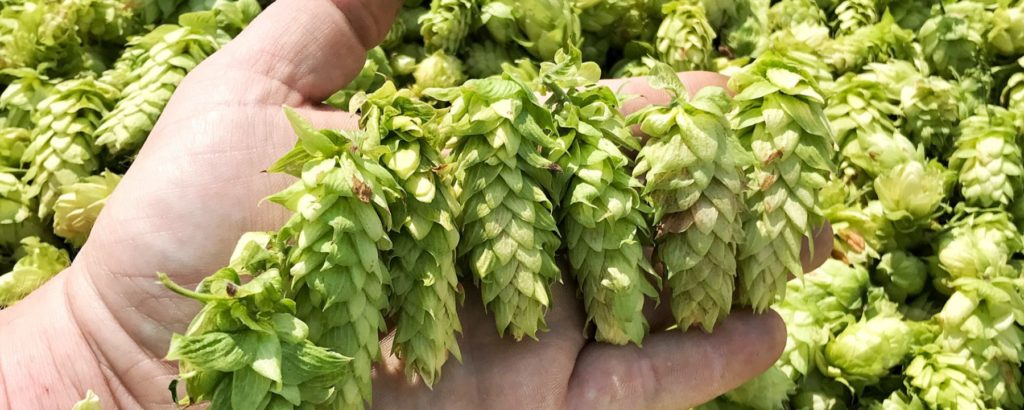
Hops are the flowers of the perennial hop plant, which means that if they are well-maintained in an optimal environment, these plants will stay around for a long time and continue to bear a fruitful harvest once a year.
When they’re truly allowed to shine, hop bines (the term for the vines of a hop plant) can grow up to thirty feet tall, and the weight of a bountiful cone harvest is no joke! Hop plants have been known to take down a trellis or two in their heyday.
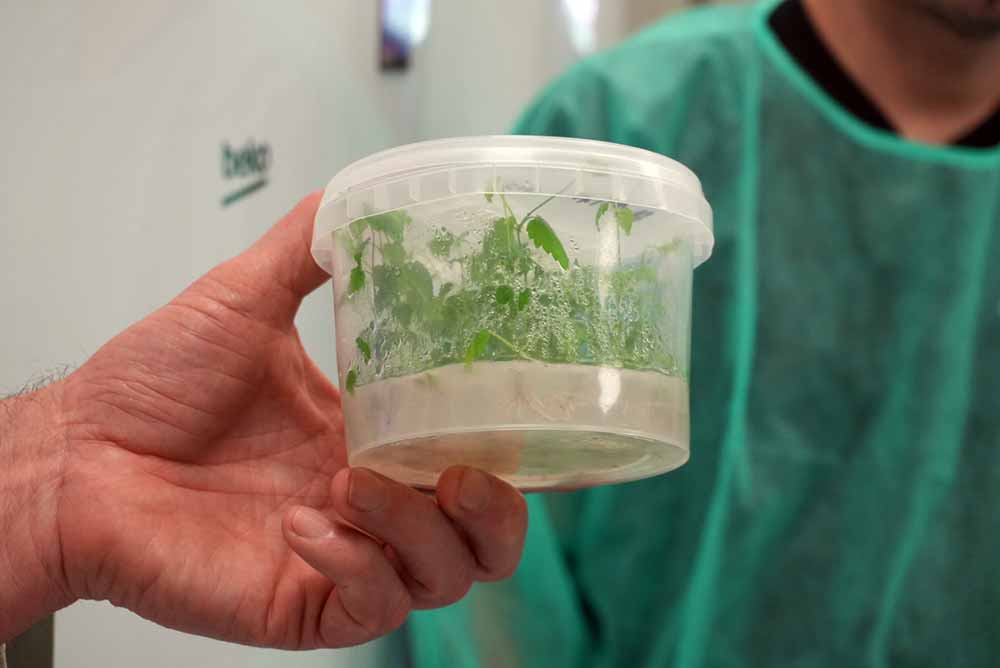
Rhizomes
Hop plants can be male or female. Only the female plants grow the flowers, called cones, that you’ll want to use for homebrewing. So, if you were to purchase a packet of seeds and plant them all, you would have only a fifty percent chance of cultivating a plant that could deliver the goods you want. This is where rhizomes come in.
Rhizomes are small pieces of root cut from the central root system of a female hop plant. They’re not technically part of the root, but rather an underground stem system. A fully functioning, hop flower-producing plant can emerge from a single rhizome, and by using rhizomes, you’ll know that the plant is female. No guesswork. Just lots and lots of hop cones on harvest day.
Hop Plant First Aid
Just like us, hop plants can get sick. Aphids and mites love to prey on hop plants by feeding on developing cones and a hop plant’s delicious juices. Aphids can even transmit plant viruses from one victim to another.
Luckily, if you’re growing your hops on a balcony or the side of your home and find these pests a problem, you can employ predatory mites or ladybugs to feed on these pesky critters and protect your crop.
Mildew is another enemy to watch, whether you’re growing your hops indoors or outside. A few varieties of fungus that cause mildew can infect your plant, colonize, stunt growth, and sully the bines that do manage to grow and climb. The best way to deal with these fungi is to remove the affected parts of your plant or employ a fungicidal remedy.
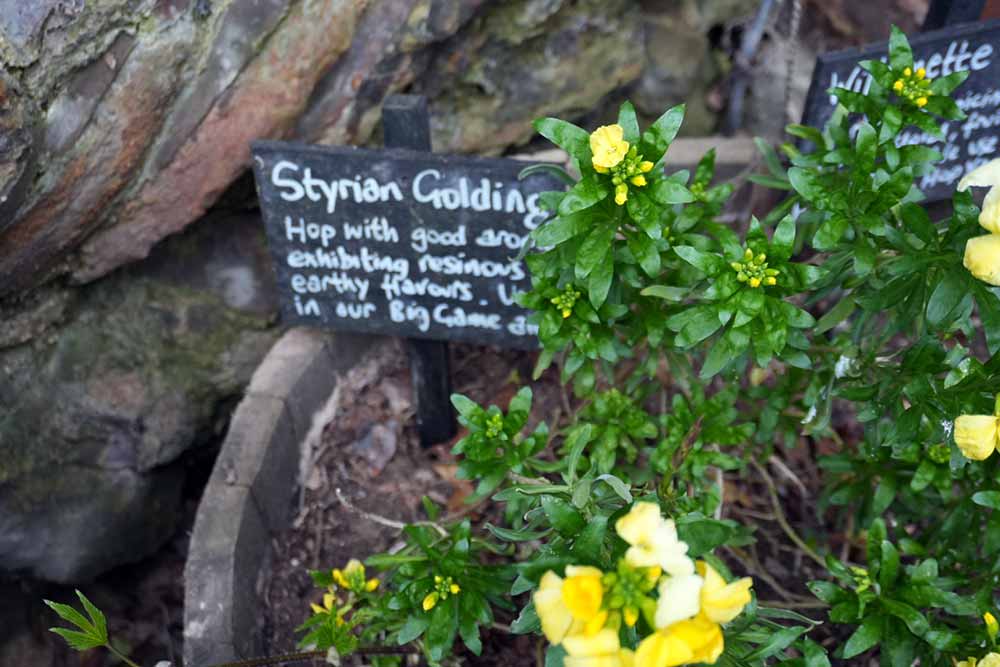
Considering these facts is critical when planning the “how” and “where” of your future hop yard or hop room, but don’t stop here! Read up on which hop varieties grow best in your location and ask local hop farmers about their experiences.
2. Pick the perfect location
Whether or not you choose to plant your rhizomes indoors or outdoors, location is everything. Your hop plants will need a place to climb, flourishing with six to eight hours (or more) of direct sunlight. Any less sunlight may mean a small harvest if any cones grow at all.
With this in mind, pick a place by a window that sees a lot of sun, or try planting your hops along the side of your house. They’ll spread upwards, not outwards, so it’s no problem if you’ve got very little space between you and your neighbor! It’s best, if possible, to choose a spot facing South.
Photography courtesy of Grace Lee-Weitz | Hop Culture
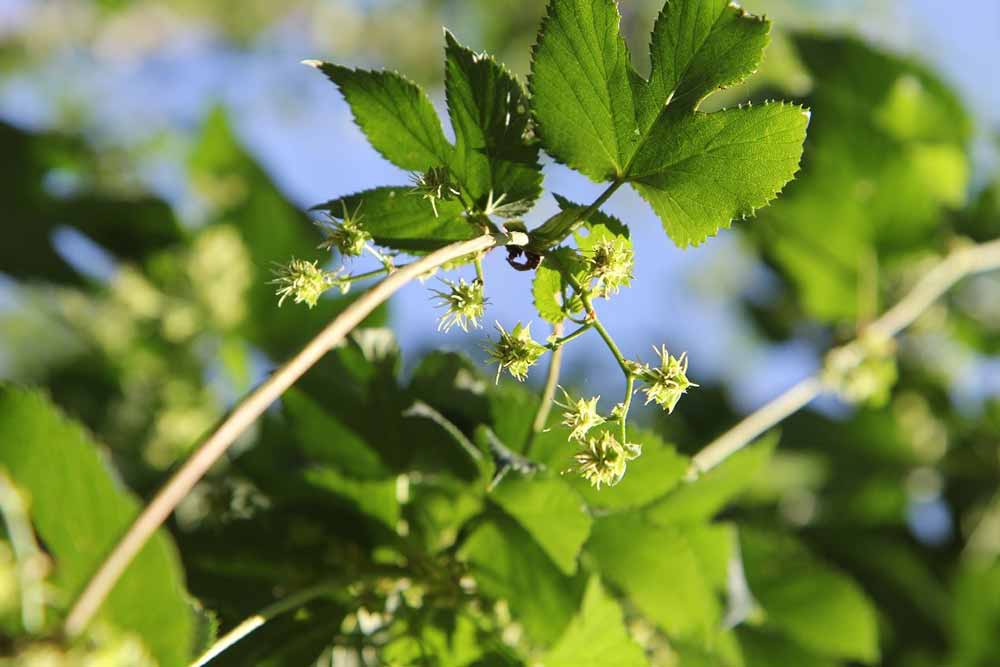
3. Establish a place for your future hop plant to climb
Hop plants are known to grow incredibly fast, which is part of the reason it can be so satisfying to grow them for yourself! Few types of greenery provide the satisfaction of seeing as much as twelve inches of growth in a single day, but hop plants aren’t just any plant.
That said, it’s important to give your plants an opportunity to climb to their hearts’ content.
“Having the trellis completely built first is a huge thing,” says Adam Tymn of Father Time Machine Hops in Denver.
If you’re growing indoors or on an apartment balcony, you’re probably already wondering how you’ll be able to handle twenty to thirty feet of bine growth.
But fear not! You can train hop plants to grow upwards and then horizontally, so an arch over a window or a garden path could be in your future. If all else fails, the bines will double back down on themselves and hang once they’ve reached a peak—if you choose this route, you may want to guide them by installing some hooks in your ceiling.
4. Ready the soil
Even the healthiest rhizomes may not flourish to their full potential if the soil you house them in doesn’t contain the ideal drainage or acidity levels.
Eric Olson, hop master from Rhode Island and the founder of Olson & Son Hopyard, shares some advice when asked about mistakes he made when we first began growing hops, “Not paying attention to what type of soil I was planting in,” he says.
In his case, the dirt in his region was heavy in clay and, therefore, resistant to draining. Moisture had stuck around the plant’s roots for several years, and upon digging up the plant’s root system several seasons later, Olson discovered that part of it had rotted in stagnant water.
Ensure that your soil is loose so it will drain properly. If you plan to let your hops grow in pots indoors, drill holes in the bottom of your planting container before placing it on a tray to catch the run-off. Hop plants may be thirsty, but they should never be allowed to sit with water for too long!
Also, hop plants prefer slightly acidic soil. Whether you purchase soil in a bag or use the real thing from your backyard, you can always use a pH testing kit to ensure you’re providing your hop plants with precisely what they want.
5. Choose your rhizomes
Choosing where to purchase your rhizomes is one of the most critical decisions. Remember those pesky hop plant diseases we mentioned? Some of these diseases are genetic, meaning you’re already doomed if your rhizome is cut from an unhealthy plant.
Even Richard Smith, founder of Florida Hops, LLC, has found himself the victim of infected rhizomes.
“The plants that later developed from the rhizomes showed Apple Mosaic Virus infection, which drastically impacted the growth habit of the plant,” he says. “I wasn’t the only one to do this! Associates at another campus of the University of Florida also brought in rhizomes from a larger supplier, and those plants were discovered to have Downy Mildew, a killer of hop plants. We immediately culled those plants and restarted the projects.”
As drastic as it may sound, he’s absolutely right—if something like this happens, the best thing to do is to start over entirely with new rhizomes.
Consider buying your rhizomes locally so that you can more easily inquire about their origin and the history of their “parent” plant.
6. Get planting!
When you decide to plant your rhizomes will vary depending on where you live, especially if you’re growing outdoors. But Tymn, who lives in Colorado, is a proponent of starting early.
“I waited until the first week in May to plant the rhizomes, and I think I could have planted them even two weeks earlier than I did,” he says.
Generally, you’ll want to aim for planting your hops as soon as the threat of a frost has left for the year, in the early spring.
At Florida Hops, however, things are a bit different—“holiday hops” can grow well into the winter. Sometimes, they can even offer a second harvest between Thanksgiving and Christmas.
If you’re planting outdoors, space your rhizomes at least three feet apart (and at least five feet apart if you’re growing different varieties). For the optimal hops-in-a-pot experience, get your hands on a twenty-inch planter and plant a single rhizome in the center. Place your rhizomes vertically, and make sure that the buds are pointing up towards the surface of the soil. Bury about two inches deep.
7. Take care of your new hop babies
Hop plants are hungry, thirsty living things that need proper nutrition and hydration at every step of the way.
Smith knows this better than anyone, as he has pioneered the process of successfully growing hops in a state where it was once thought impossible.
“When I meet growers for the first time, they are often under-fertilizing their plants, which tends to lead to less vigorous growth and reduced yields,” he says. “If you can give the plant what it needs at each stage of growth, you’ll have learned one of the most important factors in successful plant production.”
If you don’t feel like you fully understand hop growth and when or how often you should fertilize, take a detour back to step one and do more research. While you may be able to produce a fine hop harvest without extensive knowledge, you’ll be more likely to succeed with information on your side.
When in doubt, simple is still best. “Water your hops daily,” Tymn advises. “Hops like a lot of water, but they also like well-draining soil.”
If you’re growing outside, keep on top of the weeds to ensure that your soil remains just as pristine as it was when you first planted your rhizomes.
“Hops do not like to compete with weeds.”
Photography courtesy of Bohemia Hop
8. Be patient. Drink some beer
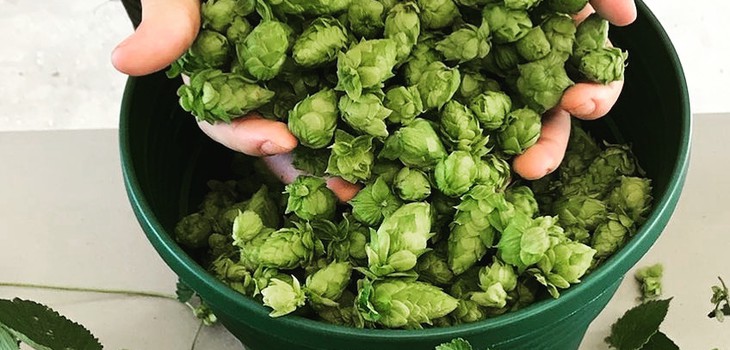
After you establish your rhizomes in your yard or pot, you’re in it for the long haul. The hop plant will spend the first year or so establishing its root system, but you can bet that with patience and attentive care, you’ll see some beautiful hop cones in year two.
Olson’s rule of thumb: “Don’t expect real cones the first year; the second year, you’ll get a few, and by year three, you’ll be sharing with all of your homebrewing friends.”
Others have seen faster growth, but this is largely variable. If you don’t get a harvest immediately, you probably haven’t done anything wrong. Relax and wait it out, all while giving your hop plants the TLC they deserve.
A Final Word of Advice
Smith says it best. “The reward for a job well done is, as it always should be, a nice refreshing beer. How can you go wrong?! Even if you aren’t successful, you can have a beer. How’s that not a Win-Win?!”
Find some sun, find some dirt, get planting, and reward yourself for a hard day’s work.
Liked this article? Sign up for our newsletter to get the best craft beer writing on the web delivered straight to your inbox.